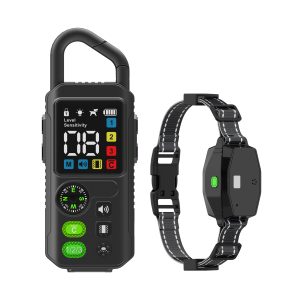
How to Effectively Install and Use a Wireless Dog Fence
Introduction:
Wireless dog fences offer a convenient way to keep your furry friend safe within set boundaries without the need for physical barriers. In this guide, we’ll walk you through the steps to effectively install and use a wireless dog fence to ensure your pet’s safety and freedom.
Step 1: Choosing the Right Location
Decide on the area where you want to establish the boundaries for your dog. Ensure it is free of any obstacles that could interfere with the signal transmission from the transmitter to the receiver on your dog’s collar.
Step 2: Setting Up the Transmitter
Follow the manufacturer’s instructions to set up the transmitter in a central location within your home. Make sure it is placed away from large metal objects or appliances that could disrupt the signal.
Step 3: Fitting the Collar
Attach the receiver collar to your dog after ensuring it is fitted comfortably and securely. Always check the fit regularly to prevent any discomfort or skin irritation.
Step 4: Training Your Dog
Introduce your dog to the wireless fence gradually. Use flags to mark the boundaries and allow your dog to learn where they can roam freely. Supervise your dog during the training process to reinforce positive behavior.
Step 5: Monitoring and Maintenance
Regularly check the collar batteries and test the boundaries of the wireless fence. Ensure the transmitter is functioning correctly and replace batteries as needed. Additionally, make sure the collar remains snug and secure on your dog.
Conclusion:
By following these steps, you can effectively install and use a wireless dog fence to provide your pet with a safe and secure environment to explore while giving you peace of mind.


