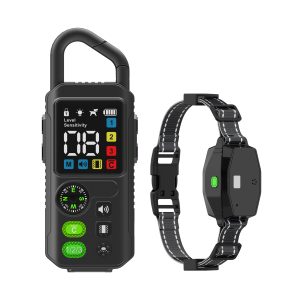
Enhancing Your Pet’s Freedom: DIY Wireless Dog Fence Guide
Dogs love to roam, but as pet owners, it’s our responsibility to keep them safe within boundaries. One innovative way to do this is by setting up a wireless dog fence. In this blog post, we’ll guide you through the process of creating your very own wireless dog fence at home.
Step 1: Planning
Before you start, carefully plan out the area you want to designate as the safe zone for your furry friend. Take into consideration any potential obstacles or interference that might affect the wireless signal.
Step 2: Setting Up the Transmitter
Place the transmitter in a central location in your home. Make sure it’s elevated and away from any large metal objects that could interfere with the signal.
Step 3: Installing the Boundary Flags
Set up the boundary flags around the perimeter of your pet’s designated area. These flags will act as a visual aid to help your dog understand the boundaries.
Step 4: Training Your Dog
Start training your dog to understand the boundaries. Use positive reinforcement and gradually introduce the correction feature of the wireless fence system.
Step 5: Monitoring and Adjustment
Monitor your pet’s behavior closely in the initial days. Make any necessary adjustments to the boundary or the settings of the wireless fence system to ensure your dog’s safety and comfort.
By following these steps, you can provide your furry companion with the freedom to explore and play in a safe environment. DIY wireless dog fences are a cost-effective and convenient way to give your pet the freedom they deserve while keeping them safe and secure.


