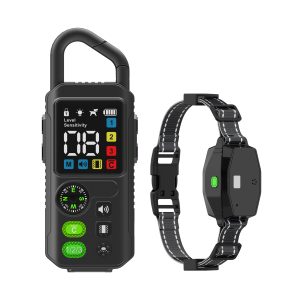
Ultimate Guide: Setting Up Your Wireless Dog Fence
Wireless dog fences are an excellent way to keep your four-legged friend safe and secure within your property boundaries. In this comprehensive guide, we will walk you through everything you need to know to set up your wireless dog fence correctly.
Step 1: Choosing the Right Location
Before installing your wireless dog fence, it’s crucial to select the appropriate location. Opt for an area that is free from interference and obstacles such as metal objects or large appliances.
Step 2: Installing the Transmitter
Place the transmitter in a central location within your home, ensuring it is elevated and away from metal surfaces. Make sure it is connected to a power source and that the signal reaches the desired perimeter.
Step 3: Setting Up the Boundaries
Using the boundary flags provided, mark the perimeter where you want your dog to stay within. This visual aid will help your dog learn the boundaries effectively.
Step 4: Introducing Your Dog to the Fence
Once the system is set up, introduce your dog to the boundaries gradually. Use positive reinforcement techniques like treats and praise to help them understand the limits.
Troubleshooting Tips
If you encounter any issues with your wireless dog fence, refer to the troubleshooting section in your manual. Common problems include signal interference and battery issues.
Follow these steps diligently, and you’ll have your wireless dog fence up and running smoothly in no time!
Remember, consistency is key when training your dog to respect the boundaries set by the wireless fence. Be patient and provide ample positive reinforcement to ensure your furry friend’s safety and well-being.


