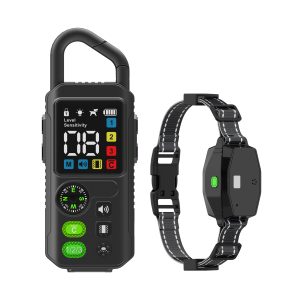
Setting up Your Havahart Wireless Dog Fence
Are you tired of dealing with traditional fencing for your four-legged friend? Havahart wireless dog fences provide a modern, convenient solution!
Here’s a step-by-step guide to help you install and use your new wireless fence:
Step 1: Planning
Start by planning where you want to create boundaries for your dog. Take note of any potential obstacles or interference that might affect the wireless signal.
Step 2: Setting Up the Transmitter
Find a central location in your home to place the transmitter. Make sure it is elevated and away from metal objects that could interfere with the signal.
Step 3: Installing Boundary Flags
Place the boundary flags around the perimeter where you want the dog to stay within. These flags will help your pet visually understand the boundaries.
Step 4: Introducing Your Dog
Introduce your dog to the boundary flags and teach them how the system works. Use positive reinforcement to help them understand the new boundaries.
Step 5: Training Sessions
Regular training sessions are important to help your dog understand and respect the boundaries. Start with short sessions and gradually increase the time spent near the boundary.
Step 6: Supervision
Always supervise your dog, especially in the initial stages of training. This will help reinforce the boundaries and keep your pet safe.
With these steps, you can successfully set up and use your Havahart wireless dog fence. Enjoy the peace of mind knowing your furry friend is safe and secure!


