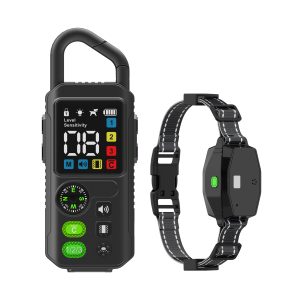
Setting Up Wireless Dog Fence: The Ultimate Guide
Are you tired of your furry friend wandering off? If so, a wireless dog fence might be the perfect solution. In this comprehensive guide, we will walk you through the process of setting up a wireless dog fence to keep your pup safe and secure.
Step 1: Choose the Right Location
Before you start setting up your wireless dog fence, it’s important to choose the right location. Consider the size of your yard, any obstacles that may interfere with the signal, and how far you want the boundary to extend.
Step 2: Install the Transmitter
Next, install the transmitter in a central location in your home. This will emit the signal that communicates with your dog’s collar. Make sure to follow the manufacturer’s instructions carefully to ensure proper installation.
Step 3: Set the Boundary
Once the transmitter is in place, it’s time to set the boundary for your wireless dog fence. Most systems allow you to adjust the range to fit your specific needs. Take your time to fine-tune the boundary to keep your pup safe.
Step 4: Introduce Your Dog to the System
After everything is set up, it’s essential to introduce your dog to the wireless fence system. Start by letting them wear the collar around the house without activating it. This will help them get used to the feeling of wearing the device.
Step 5: Training Your Dog
Training is crucial when setting up a wireless dog fence. Use positive reinforcement techniques to teach your dog where the boundaries are and what happens if they cross them. With time and patience, your pup will learn to respect the boundaries you’ve set.
By following these steps, you can set up a wireless dog fence to keep your furry friend safe and secure. Remember, consistency is key when training your dog to respect the boundaries. With a little dedication, you can create a safe space for your pet to roam and play freely.


