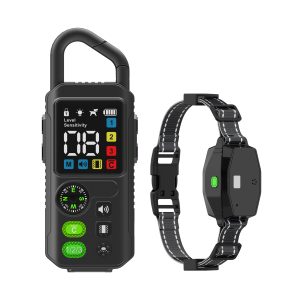
Professional Guide to Installing a Wireless Dog Fence
Installing a wireless dog fence is a crucial step in ensuring the safety and security of your beloved pets. In this comprehensive guide, we will walk you through the steps involved in setting up a wireless dog fence system.
Step 1: Choosing the Right System
Before you begin the installation process, it is essential to select the right wireless dog fence system for your needs. Consider factors such as the size of your yard, the breed of your dog, and any specific containment requirements.
Step 2: Planning the Layout
Map out the boundaries of your wireless dog fence and decide where you want to place the transmitter. Ensure that there are no obstructions that could interfere with the signal transmission.
Step 3: Installing the Transmitter
Mount the transmitter in a central location within your home, preferably near a power outlet. Follow the manufacturer’s instructions for setting up the transmitter and adjusting the signal range.
Step 4: Setting Up the Boundary Flags
Place the boundary flags along the perimeter of your wireless dog fence to provide a visual cue for your dog. These flags will help your pet understand the boundaries of their containment area.
Step 5: Training Your Dog
Introduce your dog to the wireless dog fence gradually. Use positive reinforcement techniques to help them understand the boundaries and consequences of crossing them. Consistent training is key to ensuring your pet’s safety.
Step 6: Monitoring and Maintenance
Regularly check the system to ensure that it is functioning correctly. Replace batteries as needed, and periodically review the boundary flags to ensure they are visible to your dog.
By following these steps, you can successfully install a wireless dog fence system and provide your furry companion with a secure and spacious environment to roam freely.


